
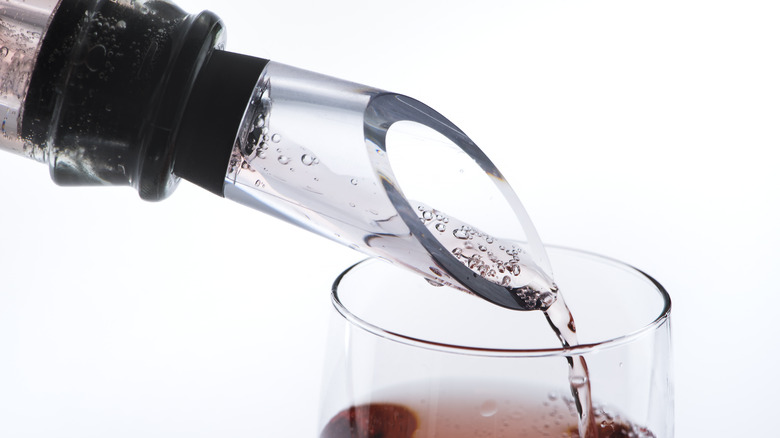
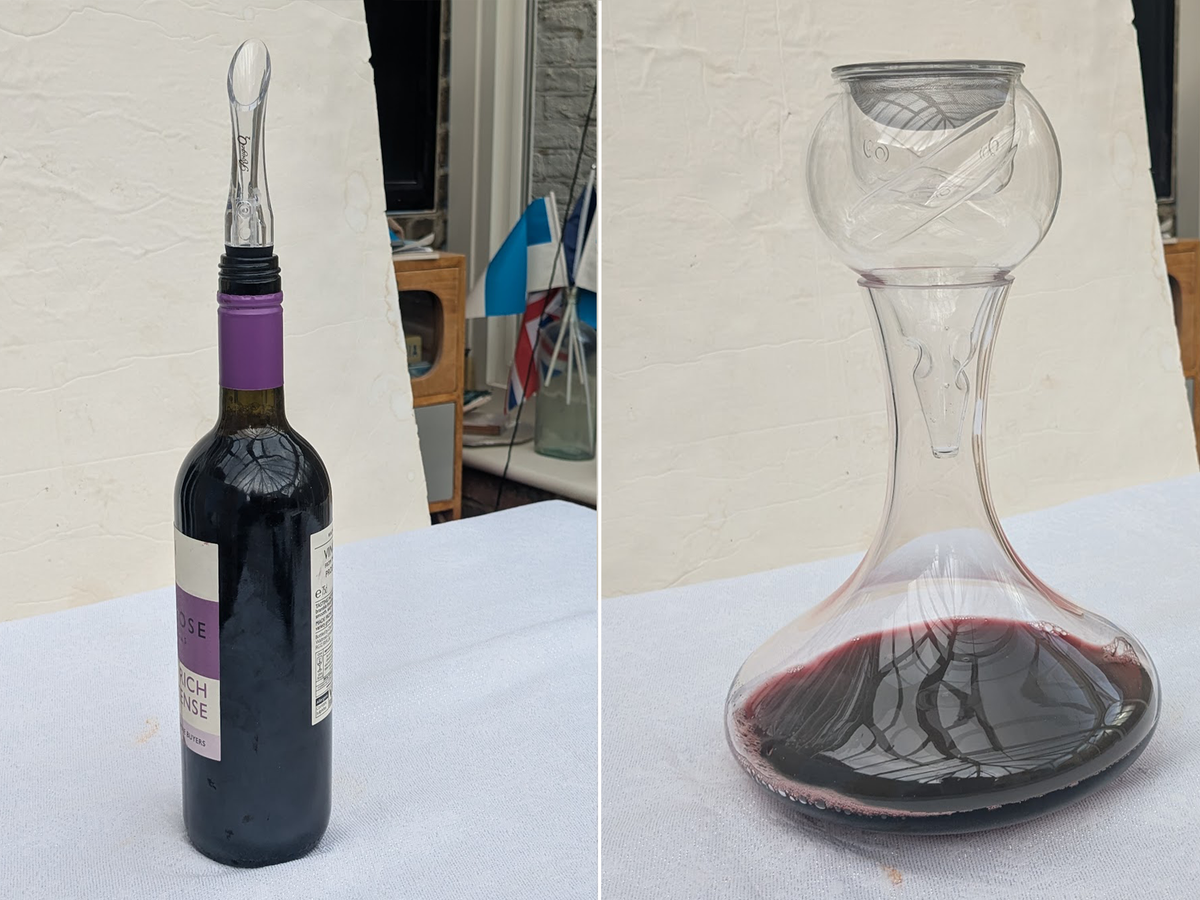
Why pour through a wine aerator
A wine aerator speeds up the breathing process that normally happens when wine sits in a decanter. Instead of waiting 30 minutes or more for oxygen to interact with the liquid, the aerator introduces air as you pour. The device forces the wine through a narrow channel or vent, creating turbulence that mixes oxygen directly into the stream. This rapid exposure softens harsh tannins and releases volatile aromatic compounds almost instantly.
This mechanism is particularly useful for young, robust red wines that are tight or astringent when first opened. The immediate oxidation helps unlock complex flavors like blackberry, cherry, or tobacco notes that might otherwise remain muted. For lighter wines or older vintages, the effect is subtler, but the primary benefit remains the same: a smoother, more balanced glass without the wait.
By accelerating the chemical reactions that occur during oxidation, a wine aerator transforms the drinking experience from the first sip to the last. It turns a potentially harsh pour into a smooth, expressive glass, making it an essential tool for quick weeknight dinners or impromptu gatherings.
Choosing the right wine aerator
Selecting a wine aerator depends on what you drink, how often you pour, and your budget. The goal is to match the tool to the wine's structure. A heavy Cabernet needs more oxygen exposure than a light Pinot Noir, and a quick weeknight pour needs a different mechanism than a weekend tasting.
Use the table below to compare the three main types. Each serves a different purpose, from speed to precision.
| Type | Price Range | Best Wine Type | Ease of Use |
|---|---|---|---|
| Standard Pourer | $10–$20 | Everyday reds (Pinot Noir, Merlot) | High |
| Adjustable Aerator | $25–$40 | Varied reds (Cabernet, Syrah) | Medium |
| Electric Aerator | $50–$100 | High-tannin wines (Nebbiolo, aged Reds) | Low (requires charging) |
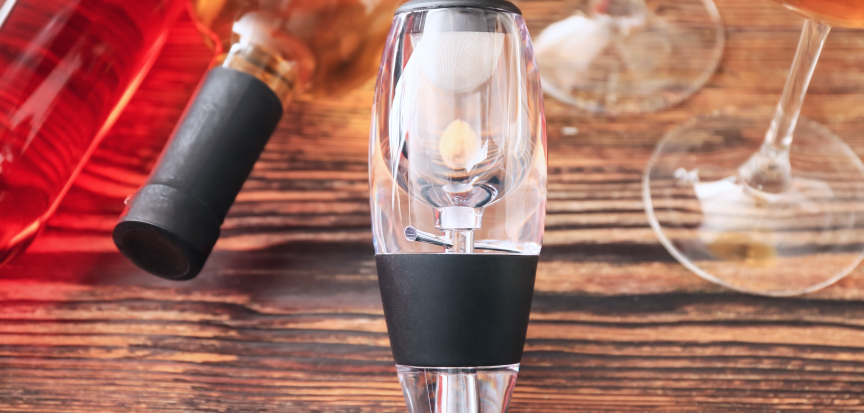
Standard pourers are the most common entry point. They are simple spouts that attach to the bottle neck or sit on the counter. As you pour, the wine hits a small baffle that forces it to mix with air. This works well for lighter-bodied reds that don't need aggressive aeration. They are inexpensive and easy to clean, making them ideal for casual drinkers.
Adjustable aerators offer more control. You can usually twist a dial to change the flow rate, which lets you customize how much oxygen hits the wine. This is useful if you have a mixed household or want to experiment with the same bottle over several nights. They handle fuller-bodied wines better than standard pourers but require a bit more attention to get the flow right.
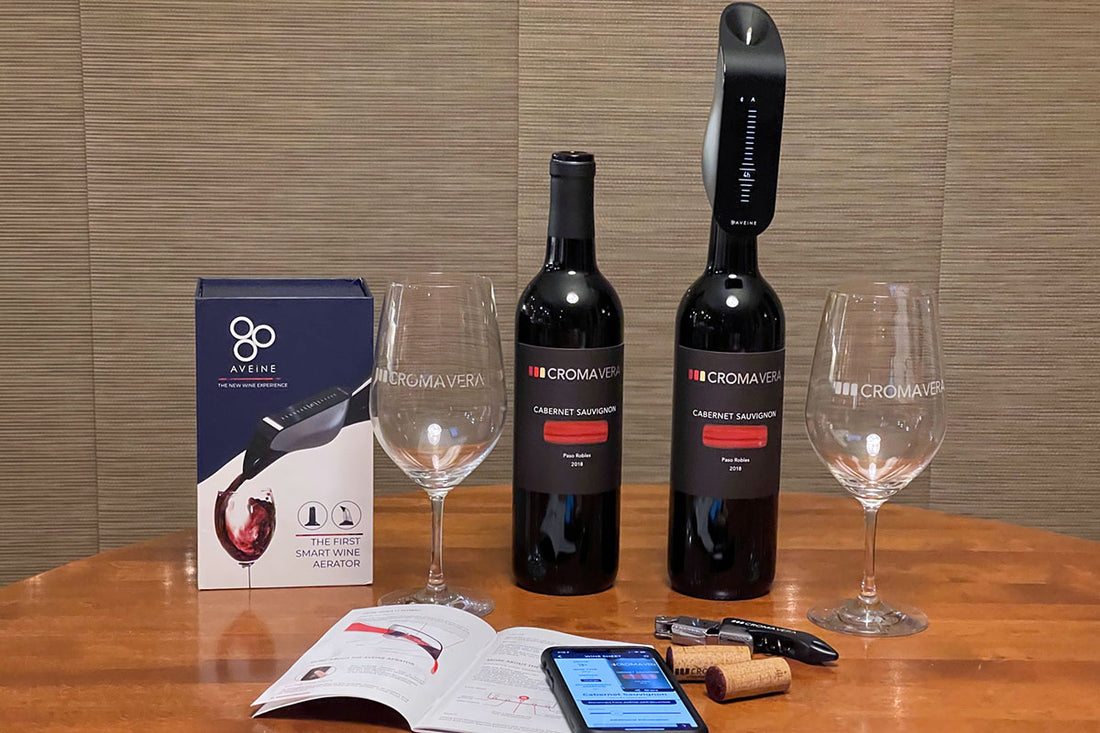
Electric aerators are the most advanced option. They use a small motor to draw wine through a filtration system, aerating it rapidly without pouring. These are best for high-tannin wines that benefit from significant oxidation, like aged Cabernets or Nebbiolo. They are heavier, more expensive, and require charging, so they are better suited for enthusiasts who want consistent results without effort.
Pouring technique for best results
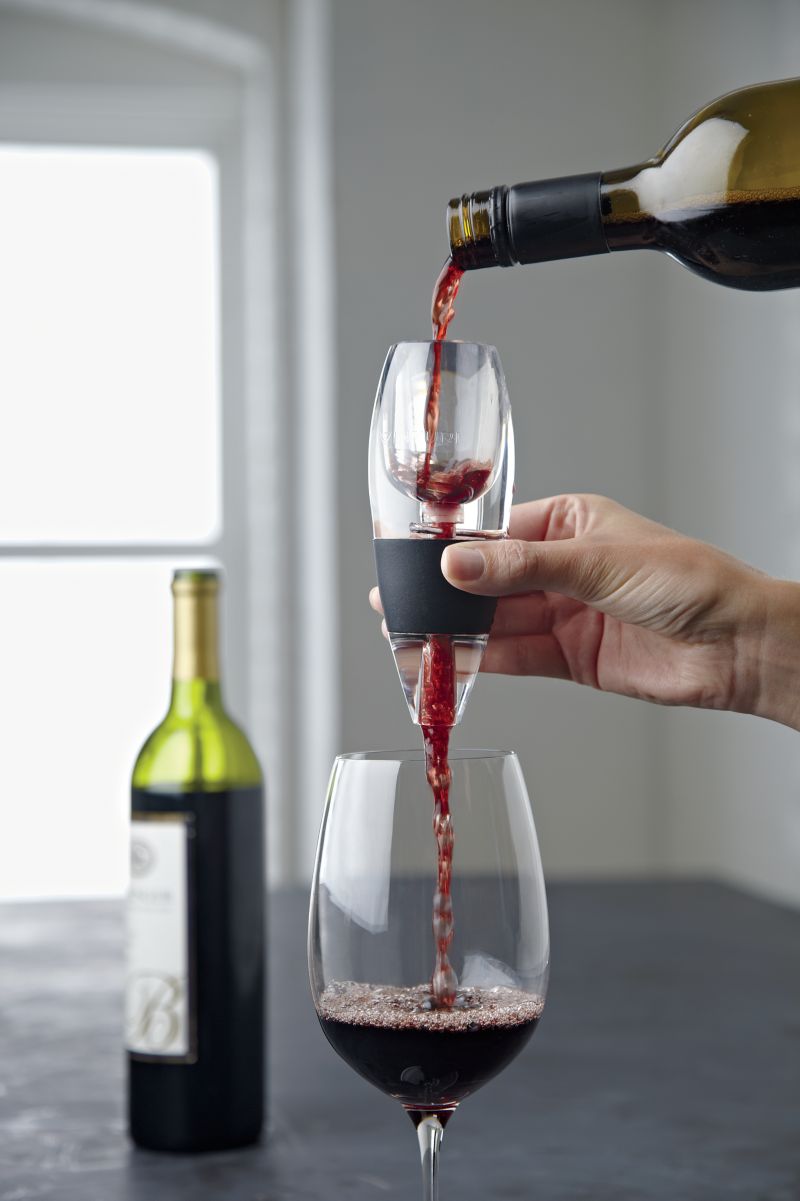
Using a wine aerator is simple, but the way you handle the bottle determines whether you get smooth, aromatic wine or a messy pour. The goal is to let the wine pass through the aerator’s internal channels at a steady rate, ensuring maximum oxygen exposure without spillage. Follow this sequence to get the best performance from your device.
Hold the wine bottle at a 45-degree angle. This tilt helps the wine flow smoothly toward the neck and prevents air from rushing into the bottle too quickly, which can cause splashing or oxidation before the wine even hits the aerator.
Place the aerator firmly onto the bottle’s opening. Ensure it is seated correctly so that all wine passes through the aeration chambers. If the fit is loose, wine may leak around the edges instead of flowing through the internal vents.
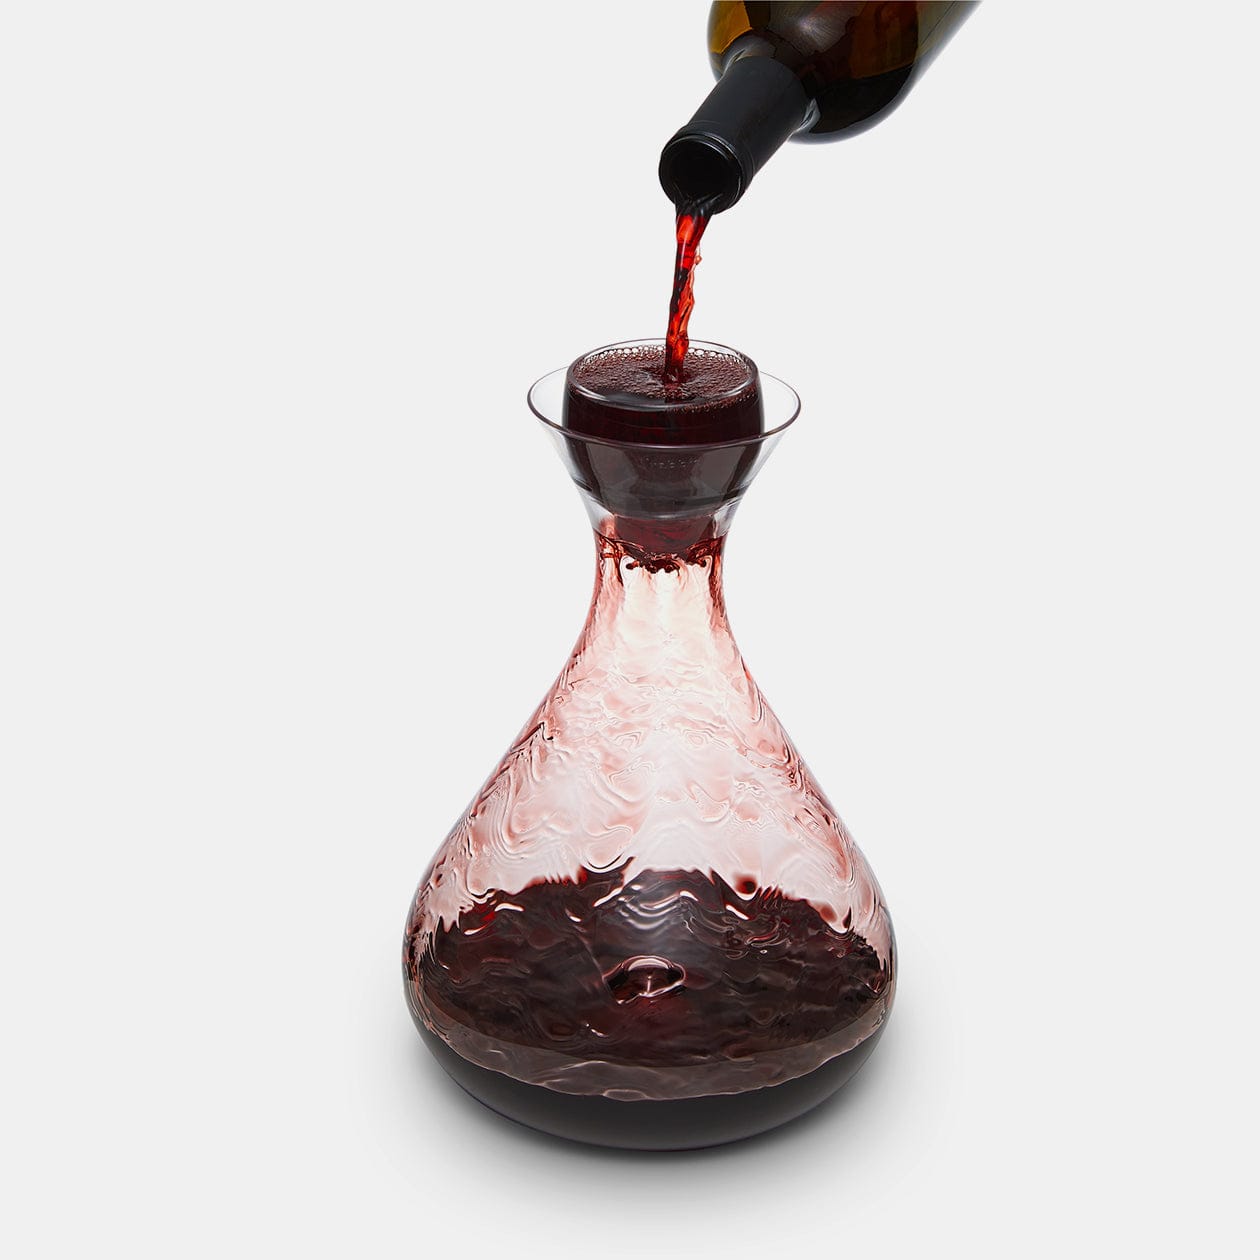
Pour the wine into your glass in one continuous, controlled stream. Avoid pouring too fast, as this can create turbulence and spills. A moderate flow rate allows the wine to fully interact with the air channels inside the device, softening tannins and releasing aromas effectively.
Once the pour is complete, lift the aerator away from the bottle to stop the flow. Give the glass a gentle swirl to further integrate the oxygen. This final step helps distribute the aeration evenly, enhancing the wine’s flavor profile before you take your first sip.
For deeper insights into how aeration changes wine chemistry, you can watch this adjustable wine aerator review that demonstrates the pouring motion in real time. Proper technique ensures every glass tastes as intended.
Match the wine aerator to the wine type
Not every bottle benefits from the same amount of oxygen. Using a wine aerator on the wrong style can flatten the experience or make it taste thin. The goal is to match the tool to the wine's structure.
Bold reds
Young, full-bodied reds with tight tannins are the best candidates for aeration. A robust wine aerator helps these wines open up, softening astringency and unlocking deeper fruit notes. Wines like Cabernet Sauvignon, Syrah, and young Bordeaux blends often taste tighter when poured straight from the bottle. Aeration acts like a shortcut to decanting, allowing oxygen to interact with the wine instantly as you pour.
Delicate whites and rosés
Lighter wines usually don't need aeration. Most crisp whites, such as Sauvignon Blanc or Pinot Grigio, are meant to be served chilled and fresh. Running them through a wine aerator can warm them slightly and strip away the bright acidity that makes them refreshing. Rosés follow similar rules; they are best enjoyed for their primary fruit flavors, which aeration can dull. Skip the aerator for these styles and serve them directly from the bottle.
Dry whites and oaked chardonnays
There is a middle ground for white wines. Heavily oaked white wines, like some Chardonnays, may benefit from brief aeration to mellow out vanilla or butter notes. However, avoid over-aerating delicate dry whites like Riesling or Vermentino. These wines rely on their aromatic precision, and too much oxygen can make them smell flat or oxidized quickly. When in doubt, taste a glass first; if it tastes tight or closed, a few minutes in the glass is enough.
Clean and store your wine aerator
Proper maintenance keeps your wine aerator tasting neutral and looking new. Residue from sticky wines can build up in the internal channels, affecting future pours and hygiene. Treat cleaning as part of the pouring ritual.
Pour cold water through the aerator right after you finish. This prevents wine sugars and tannins from drying onto the glass or plastic surfaces. Warm water can set stains, so stick to cool or room-temperature water for the initial flush.
Use a soft sponge and a drop of dish soap to gently clean the exterior and the pouring spout. If your aerator is dishwasher safe, place it on the top rack. For hand-wash models, avoid abrasive scrubbers that might scratch the surface.
Shake out excess water and let the aerator air-dry completely before storing. Moisture left inside can dilute the next pour or encourage mildew in hidden crevices. A quick wipe with a microfiber cloth speeds up the process.
Keep your wine aerator in a dry cabinet or on a shelf, standing upright. This protects the delicate internal vents from dust and physical damage. Avoid storing it in a drawer where it might get knocked around by heavier items.
A quick checklist ensures you don’t miss a step:
- Rinse immediately after every use.
- Check for any remaining residue in the spout.
- Dry thoroughly with a cloth or air-dry.
- Store in an upright position to prevent dust buildup.
No comments yet. Be the first to share your thoughts!