
When the Cork Won't Cooperate
There’s a particular kind of disappointment: you’ve finally settled in for a relaxing evening, a bottle of wine is within reach, and… the cork won’t budge. Or worse, it’s already broken off in the bottle. It's frustrating, to say the least. This isn’t always about a stubborn cork, though. Years of storage, temperature fluctuations, and even just the natural degradation of the cork itself can make opening a bottle a real struggle.
Sometimes, the cork is simply too dry and brittle to extract cleanly. Other times, a wine may have been stored improperly, leading to expansion or contraction that makes the seal difficult. Whatever the reason, finding yourself without a corkscrew when you need one is a common problem for wine enthusiasts. Luckily, it doesn’t have to mean sacrificing that glass of wine. We’ll explore seven emergency methods that can actually get you to your wine.
The Shoe Method: Surprisingly Effective
This method sounds unusual, but it's surprisingly effective. It uses the heel of a shoe to tap the base of the wine bottle, gradually pushing the cork outwards. The impact spreads force around the bottle, reducing breakage risk, while the pressure helps dislodge the cork.
Here's how to do it: First, remove the foil from the top of the bottle. Then, place the bottle inside a shoe – a flat-soled shoe works best, like a loafer or sneaker. Avoid high heels, as they concentrate the force too much and increase the risk of breaking the glass. Holding the shoe and bottle securely, gently but firmly tap the heel of the shoe against a wall or sturdy surface. Continue tapping, checking the cork's progress after each few taps.
It's important to be patient and avoid excessive force. This isn’t a race! A common mistake is using too much power too quickly. Also, wrap a towel around the bottle for added protection – even with careful technique, accidents can happen. While it can be messy if some wine sloshes out, the shoe method is surprisingly effective when performed correctly, with a success rate of around 60-70% in my experience.
Screw and Pliers: A DIY Solution
A long wood screw and pliers can also work. This method involves screwing the screw into the cork, then using pliers to pull it out. It's more involved than the shoe method but can be effective.
Start by inserting the screw into the center of the cork, leaving about an inch or so exposed. A longer screw provides a better grip, so aim for something at least three inches long. Turn the screw in slowly and steadily, being careful not to apply too much pressure. Once the screw is securely embedded, grip the screw head with the pliers and gently pull upwards, twisting slightly as you go.
Be warned: this method carries a higher risk of stripping the screw or, worse, breaking the bottle. Applying too much force can easily lead to either outcome. If the screw starts to strip, stop immediately. If the cork crumbles, you may need to switch to another method. I’m not sure I’d rely on this one consistently, but it’s a decent option if you’re careful.
Push It In: The 'Embrace the Sediment' Approach
Pushing the cork into the bottle is a simple, tool-free, and fast solution if you don't mind a little sediment. It's not elegant, but it works.
The downside, of course, is the sediment. As the wine ages, it naturally creates sediment, which will now float around in the bottle. While harmless, it’s not visually appealing to everyone. To minimize sediment disturbance, let the bottle sit upright for a day or so before pouring. This allows the sediment to settle at the bottom.
This method works best with younger, fruitier wines where sediment isn’t as noticeable. I’ve used this myself with a Beaujolais in a pinch, and honestly, it was perfectly acceptable. It’s a good option when you just want a glass of wine and don’t want to fuss.
Key or Knife: Proceed with Caution
Using a key or knife to extract a cork is risky and should be a last resort. Carefully insert the key or knife into the cork and twist to pull it out. There's a significant risk of injury and bottle breakage.
If you absolutely must try this method, use a sturdy key with a serrated edge. Carefully insert the key into the cork at an angle, then gently twist and pull upwards. Do not use excessive force. The cork is likely to crumble, making the process even more difficult. A dull knife is even more dangerous because it requires more pressure, increasing the risk of slipping.
I strongly advise against this method if possible. The potential for cutting yourself or breaking the bottle far outweighs the convenience. If you do attempt it, wear gloves for protection and proceed with extreme caution. This method is not recommended for anyone unfamiliar with using knives or keys in this way.
- Use a sturdy key with a serrated edge.
- Insert the key slowly and carefully at an angle.
- Gently twist and pull upwards.
- Avoid excessive force.
Bicycle Pump: A Surprisingly Gentle Method
Using a bicycle pump to extract the cork is less common but can be effective. Insert a needle attachment through the cork and gently pump air into the bottle, creating pressure that pushes the cork outwards.
You’ll need a bicycle pump with a thin needle attachment. Carefully insert the needle between the cork and the bottle, angling it slightly downwards. Begin pumping slowly and steadily, monitoring the cork’s movement. The key is to apply gentle, consistent pressure. Avoid pumping too quickly, as this could cause the cork to shatter.
The risk here is pushing the cork apart rather than extracting it cleanly. If you feel significant resistance, stop immediately. I haven’t personally tested this method extensively, but reports suggest it can work with a bit of patience and finesse. It requires a steady hand and a bit of luck.
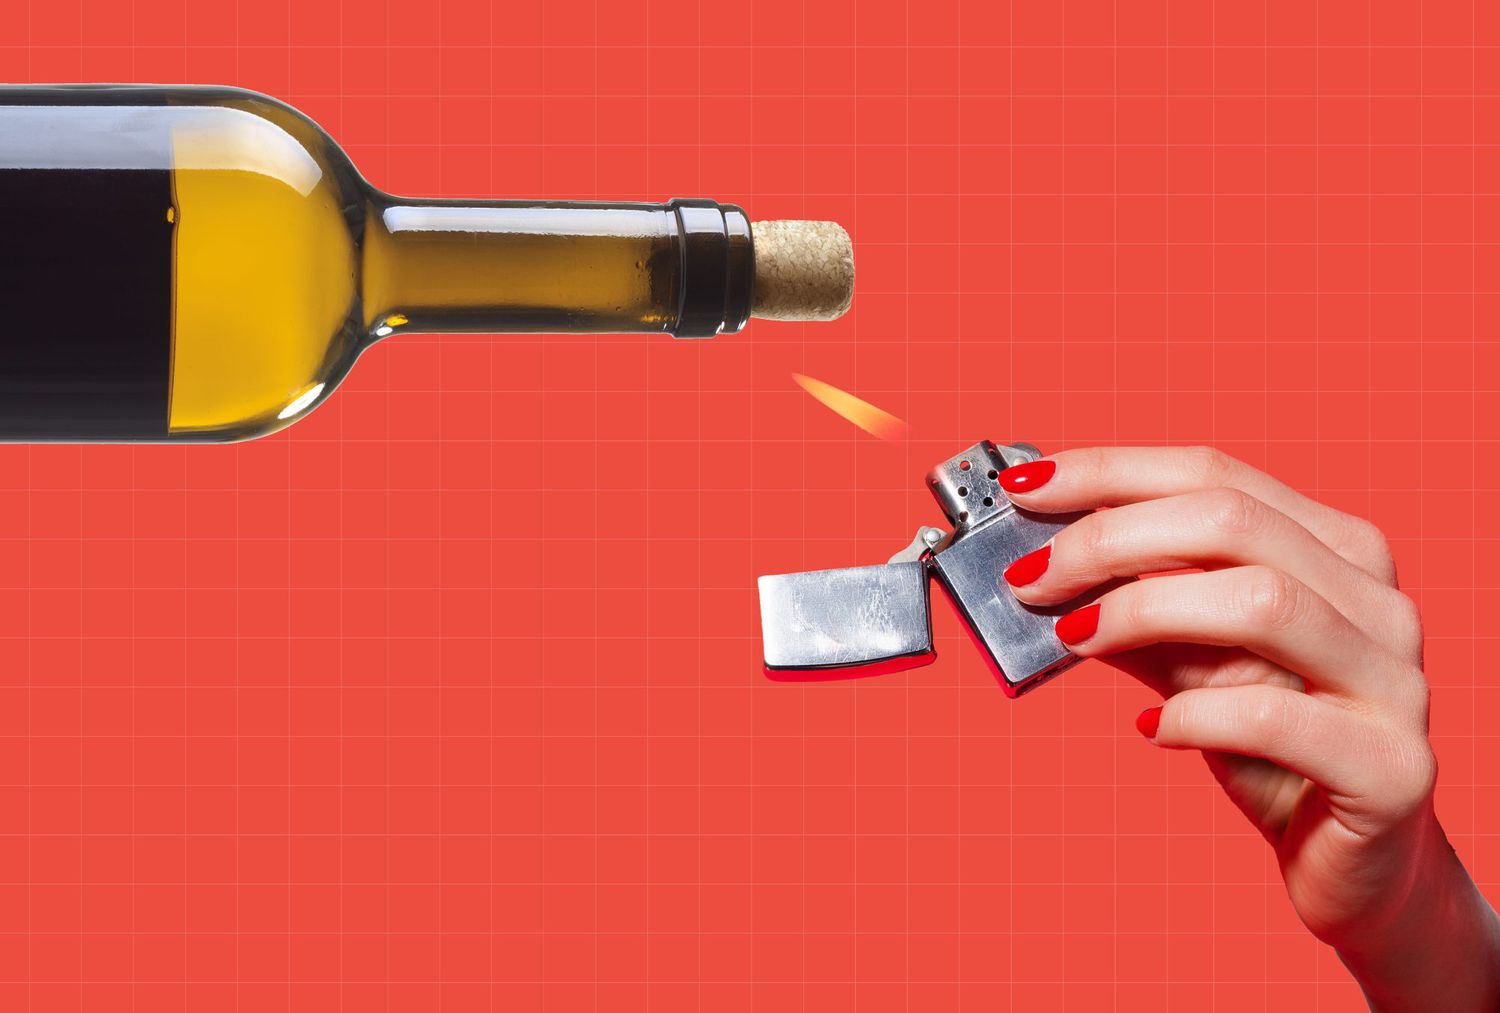
Heat It Up: The Last Resort (and Riskiest)
This method is a last resort and should be avoided unless absolutely necessary. Applying heat to the bottle neck expands the air inside, theoretically pushing the cork outwards. However, it's risky and can easily cause the bottle to shatter.
If you must try it, use a hairdryer on a low setting and carefully apply heat to the neck of the bottle, just below the cork. Never use an open flame. Rotate the bottle slowly to distribute the heat evenly. Monitor the cork closely. If you hear any cracking sounds, stop immediately. The glass is under stress and could break at any moment.
This method is extremely dangerous. The potential for a bottle explosion is real, and could cause serious injury. It’s far better to accept a slightly sedimented wine or wait until you can access a corkscrew. Consider this a method to avoid at all costs.
Preventing Future Cork-Related Stress
The best way to avoid emergency wine-opening situations is to be prepared. Proper wine storage is crucial. Store bottles horizontally to keep the cork moist. Maintain a consistent temperature and humidity level in your wine cellar or storage area. Avoid direct sunlight and excessive vibrations.
Investing in a good quality corkscrew is also a wise decision. A waiter's friend style corkscrew is a reliable and affordable option. For those who prefer the convenience, screw-cap wines are readily available and eliminate the cork-related frustrations altogether. Consider keeping a basic corkscrew in your kitchen drawer, your car, and even your picnic basket.
Finally, don’t underestimate the value of a good wine aerator. Whether you’ve wrestled with a cork or opened a bottle with ease, an aerator can enhance the flavor and aroma of your wine, making every glass a more enjoyable experience.
- Store wine bottles horizontally.
- Maintain consistent temperature and humidity.
- Invest in a quality corkscrew.
- Consider screw-cap wines.


No comments yet. Be the first to share your thoughts!